Following our disk quota overview article, we will now look at how to set up and configure a simple use case for quota management in Windows Server 2022.
At the most basic level, quotas can be applied to an entire disk volume for specified users or everybody.
Note: The best practice is to refrain from enabling disk quotas on the drive where the operating system is installed. In our examples below, an additional drive has been connected where the permissions will be applied.
DISK QUOTAS FOR ALL USERS
In our first example, we will enable disk quotas for all users accessing the server.
- To enable this, open Windows Explorer.
- Select This PC.

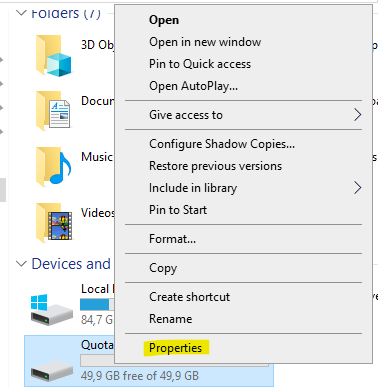
- Right-click on the drive where the quota will be enabled and select Properties.
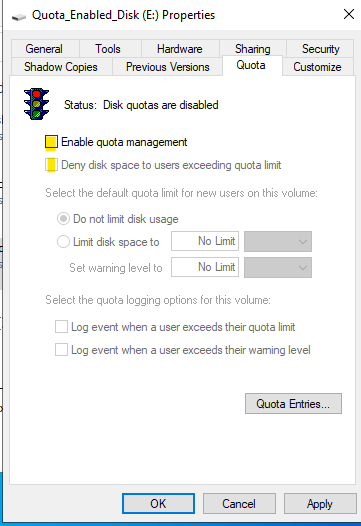
- Under Properties, select the Quota tab.
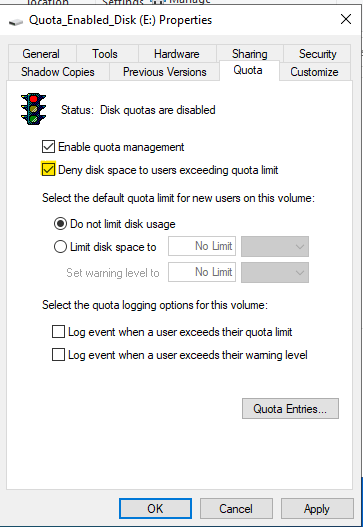
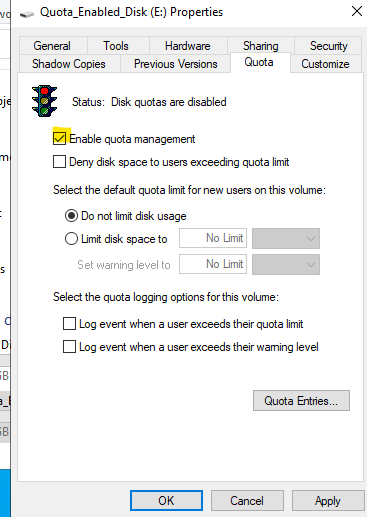
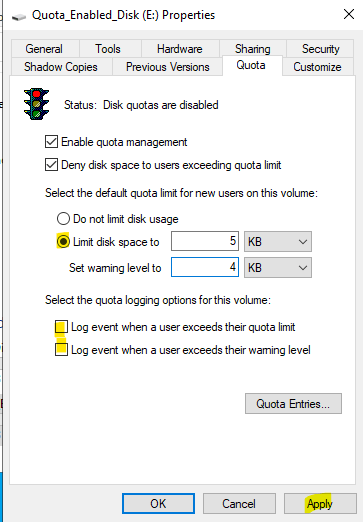
- Tick the box next to Enable the quota management.

- Tick the box next to Deny disk space to users exceeding the quota limit.
- Select the radio button Limit disk space to (This will allow setting a disk limit and warning level.)
- Select a value and select KB, MB, or GB from the dropdown as per requirements.
- Click Apply and restart the computer.

All users accessing this disk will now be limited to the storage limit applied.
DISK QUOTAS FOR SPECIFIC USERS
In our second example, we will enable disk quotas for specific users accessing the server.
- To enable this, open Windows Explorer.
- Select This PC.

- Right-click on the drive where the quota will be enabled and select Properties.

- Under Properties, select the Quota tab.
- Tick the box next to Enable the quota management.
- Tick the box next to Deny disk space to users exceeding the quota limit.

- Select the radio button Limit disk space to (This will allow setting a disk limit and warning level. )
- Select a value and select KB, MB, or GB from the dropdown as per requirements.
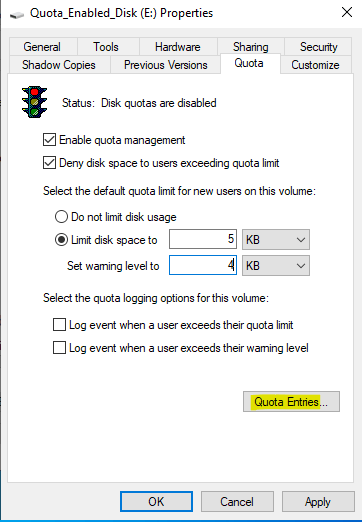
- Click Apply.
- Click on the Quota Entries button.
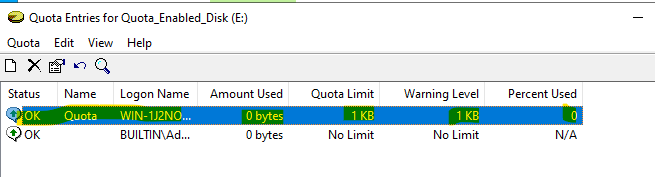
- When the Quota Entries open, select Quota on the top left and click New Quota Entry.

- Enter a username to search for and click Check Names.
- In our example, we have created a local user on the server with the name “Quota.”

- When the name is found, click OK.

- A pop-up will appear to apply a quota.
- Select the radio button next to Limit disk space to (This will allow setting a disk limit and warning level. )
- Select a value and select KB, MB, or GB from the dropdown as per requirements.

- Select the desired values and click OK.

- A new quota has been applied for the specified user.
CONCLUSION
Now that quotas are in place, limits can easily be increased or decreased in both scenarios.
Should you no longer wish to limit space, untick the two tick boxes in reverse order.
First, untick Deny disk space to users exceeding quota limit, and then untick Enable quota management.